Efficiency and fun from using ADB Shell, Part 1 - Basics
In this article, I want to show how to use basic adb commands to do things like install, uninstall, copy, clean app that used most often during Android development and testing. This could also be helpful if we want to automate builds on CI server and be sure everything clean and legit.
Android Debug Bridge(adb) is a versatile command line tool that lets you communicate with an emulator instance or connected Android-powered device. It is a client-server program which also provides a Unix shell that you can use to run a variety of commands on an emulator/device. ADB included into SDK and you can find it at OurSdkPath/platform-tools. Depending of our operation system we may also need to do additional tuning.

Install and Uninstall
First let’s install any apk, most likely we have more than one device connected, and need to pick one:
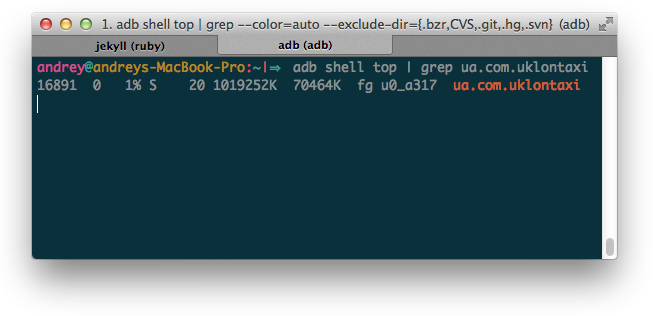
adb devices //output List of devices attached 106a6a4f device //now specifying device to install simple apk adb -s 106a6a4f install /OurLocalPath/sample.apk </pre>We can specify our device for any adb command for ex. to display and update sorted information about processesadb -s 106a6a4f top </pre>For uninstall application we just add package-name to commandadb uninstall our.package.name </pre>To see list of all packages installed on device and associated file we use remote shell and package manager commandadb shell pm list packages -f </pre>Almost for every command from adb exists additional flags most of them you can see with commandadb help … adb install [-lrtsdg]- push this package file to the device and install it (-l: forward lock application) (-r: replace existing application) (-t: allow test packages) (-s: install application on sdcard) (-d: allow version code downgrade) (-g: grant all runtime permissions) </pre></code> ## Copy files After installing apk you can find files located by [Package Manager](https://dzone.com/articles/depth-android-package-manager) at: - App itself in `/data/app` - Data directory `/data/data/ ` where you can find databases, shared preference, and other cached data. Most of the files might be useful during the testing process; you can add data to database or change settings of application editing XML. For copying files from device first you need look up for them via shell then copy adb shell //navigate and figure out what to copy adb pull /data/data/ua.slando/databases/ /OurLocalPath </pre>Same apply copying files into deviceadb push /OurLocalPath/ourFile.txt /data/data/our.package.name/databases/ </pre>Pretty often we want to copy data from internal storage for which we do not have permissions by default and can get error `remote object `/data/data/ua.slando/databases/` does not exist` to fix it we need runadb kill-server adb root </pre>Keep in mind that achieve root from adb only possible for emulators or root devices. In other case we can try to use [backup command](http://blog.shvetsov.com/2013/02/access-android-app-data-without-root.html) though it may not work if declared `android:allowBackup="false"`. ## Clean Often happens that we just need to clean data of application, keeping the same build and saving time, you can use PackageManager command:adb shell pm clear our.package.name </pre>That is it, with this set of command we can handle most of the basic use-cases. In next Part, I’ll tell more useful tips and tricks about adb and Android. Stay tuned and keep investigating this wonderful Android World! ;) #### Author Andrii Rakhimov - *Android Developer* @ [Uklon](http://uklon.com.ua/)
